DOG TOYS
How to Make a DIY Lick Mat for Dogs: Layered Recipes That Calm
Learn how to make a DIY lick mat for dogs using simple layered recipes with protein, everyday food, and yogurt or pumpkin for longer-lasting licking sessions. This guide also covers freezing, cleaning, safety checks, and alternatives for dogs who chew rather than lick.
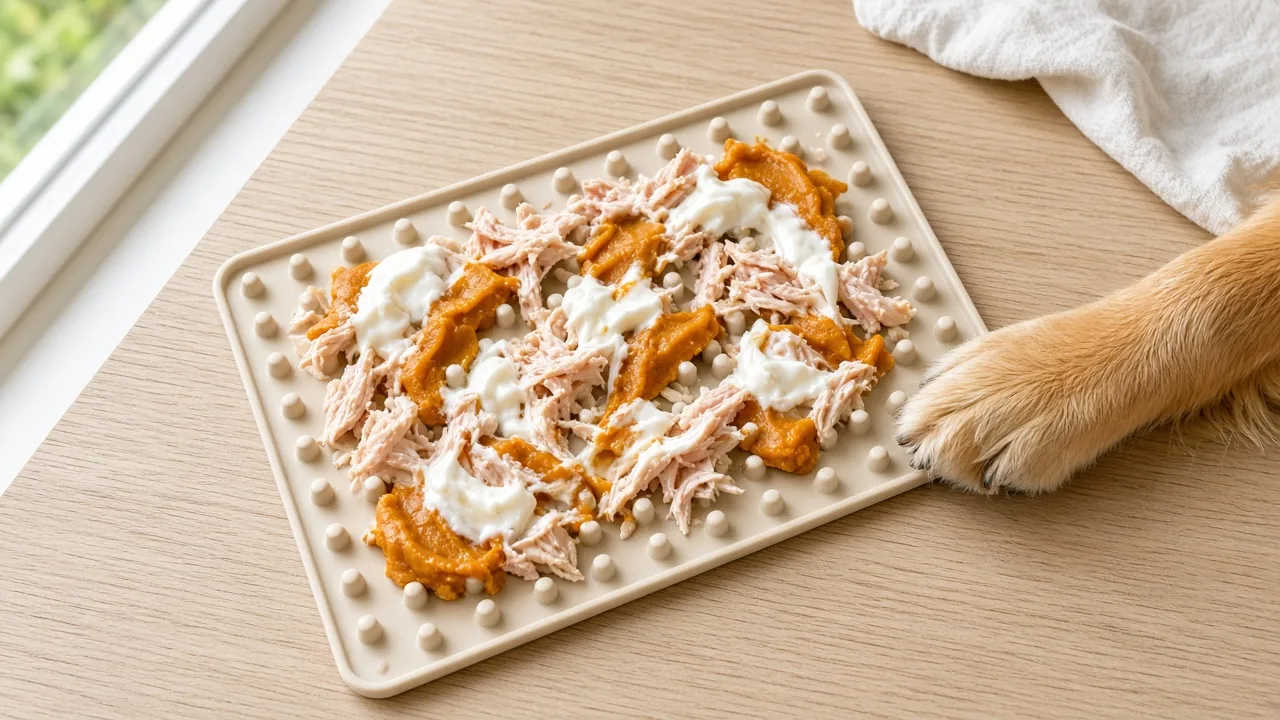
A lick mat smeared with yogurt or pumpkin puree can settle an excited dog in minutes, and you likely already own what you need to build one at home. Learning how to make a DIY lick mat for dogs takes only a few pantry staples, a flat surface, and a little planning around what your dog actually enjoys licking versus chewing. The layered approach below works for everything from a bath-time distraction to a slow-feeding dinner replacement.
What You Need Before You Start
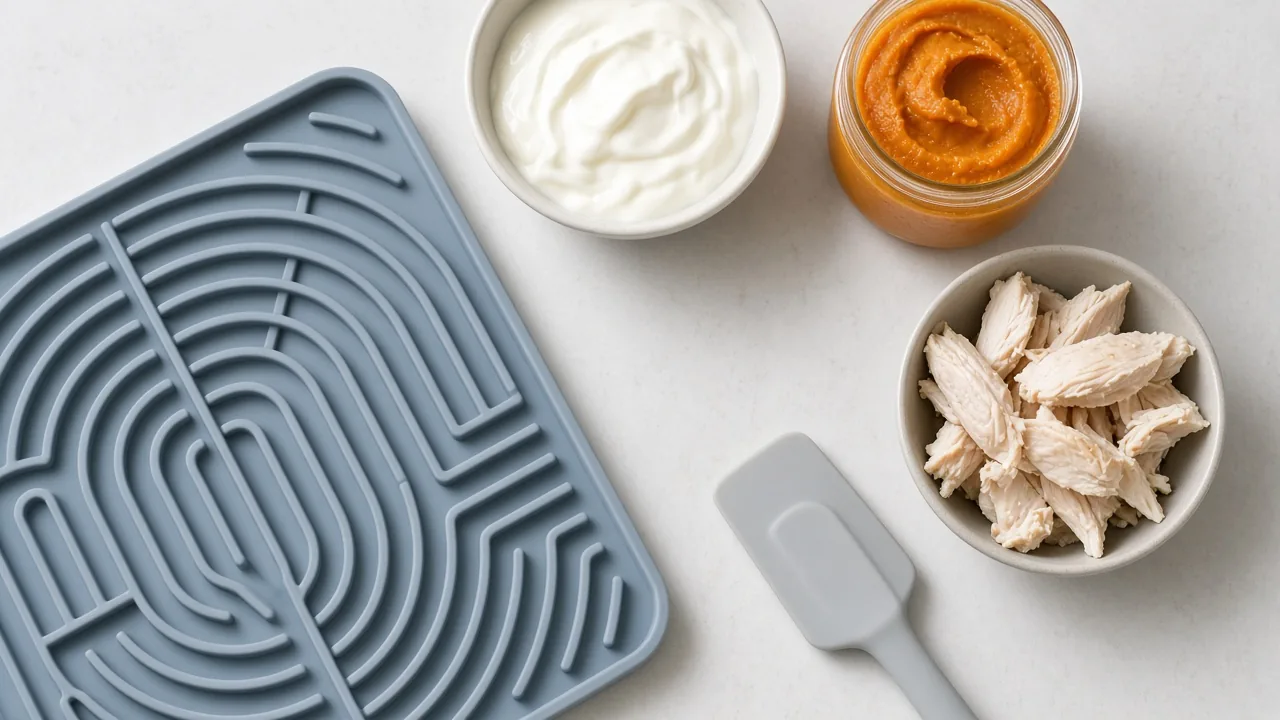
You don’t need special equipment to build a lick mat. A silicone lick mat with raised ridges works best because the texture holds food in place, but a flat plate, a baking tray, or even a clean cutting board can do the job for a first try. If you want to test the idea before buying anything, a shallow dish from your kitchen is a reasonable stand-in while you figure out whether your dog actually takes to licking.
Keep a short list of staples on hand:
- A silicone mat, flat plate, or shallow dish
- Soft proteins (plain cooked meat, scrambled egg)
- Plain yogurt, pumpkin puree, or mashed soft fruit
- Freezer space, if you want a longer-lasting treat
- A spoon or spatula for spreading thin layers
Before you spread anything, check every ingredient against basic food-safety rules. Xylitol, found in some peanut butters and yogurts marketed for humans, is toxic to dogs even in small amounts, so read labels carefully. Added salt, sugar, onion, and garlic should also stay out of the mix, and any dairy should be plain and unsweetened. When you’re not sure whether an ingredient is safe for your particular dog, especially one with a known sensitivity, a quick check with your veterinarian is worth the extra few minutes.
How to Make a DIY Lick Mat for Dogs: Step-by-Step Layering
The simplest mistake new lick mat owners make is smearing one big blob of peanut butter or wet food across the mat and calling it done. That version works, but it gives a dog one smell and one texture for the entire session, so interest fades fast. A layered approach, built more like a cake than a single spread, keeps a dog licking longer because each layer introduces something new to find.
Step 1: Choose a Base Food Your Dog Loves
Start with whatever gets your dog’s nose working the moment you open the container. A strong-smelling favorite, like soft cooked chicken, ground beef, or canned fish, goes down first and sits closest to the mat surface. This bottom layer is what hooks your dog’s attention in the first few seconds and keeps them coming back once the top layers are gone. Press it into the ridges rather than just resting it on top, so your dog has to work a little to get at it instead of licking it off in one pass.
Step 2: Add a Middle Layer of Everyday Nutrition
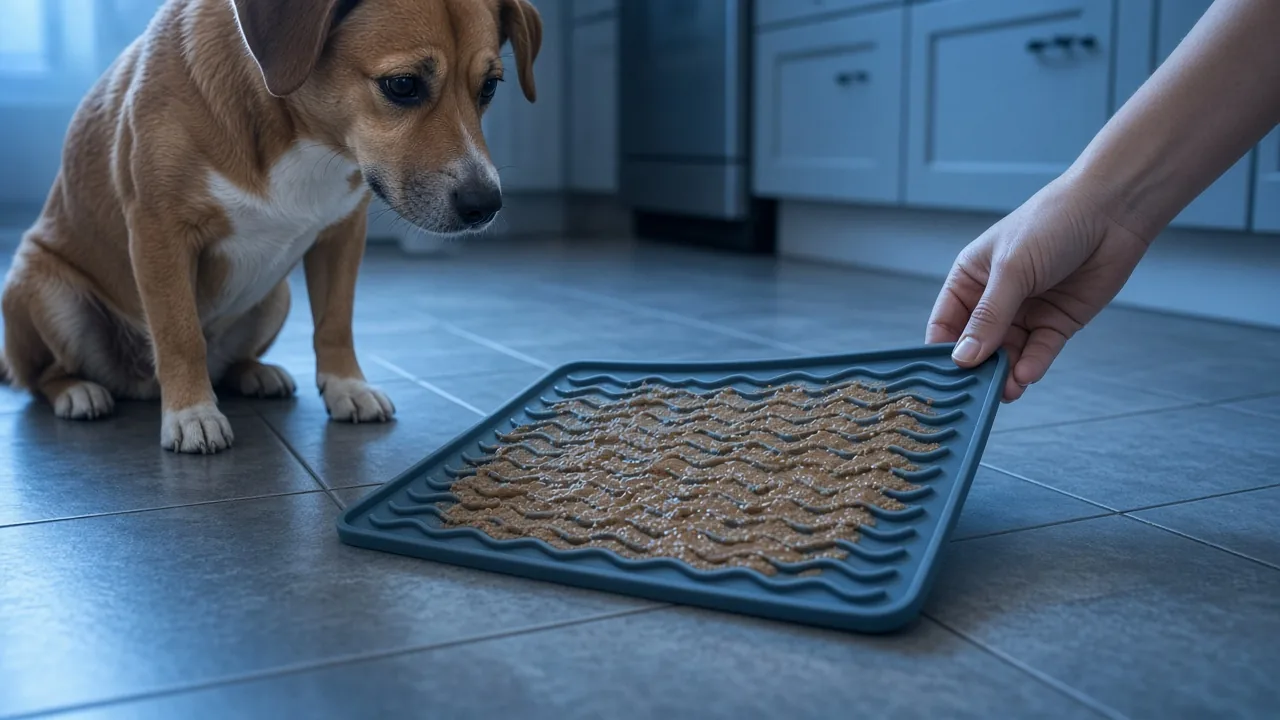
Over the base, spread a thin layer of your dog’s regular food, whether that’s a paste made from softened kibble or a portion of their usual wet food. This step turns the lick mat from a pure treat into something closer to a meal, which matters if you’re using it regularly rather than as an occasional novelty. Keep this layer thin so it doesn’t overwhelm the flavors above and below it, and so the overall portion doesn’t creep past what your dog actually needs in a day.
Step 3: Finish With Yogurt, Pumpkin, or Fruit
Top everything with plain yogurt, pumpkin puree, or mashed soft fruit like banana. This layer tends to be cooler and lighter, which works well for dogs with sensitive stomachs who might not tolerate a mat loaded entirely with rich meat. The contrast between a savory base and a cooling top layer is part of what makes the layered method hold a dog’s interest longer than a single-ingredient mat. If your dog tends to gulp rather than lick, spreading this layer thin rather than piling it on helps keep the pace slower.
Step 4: Freeze or Serve Fresh Depending on Your Dog
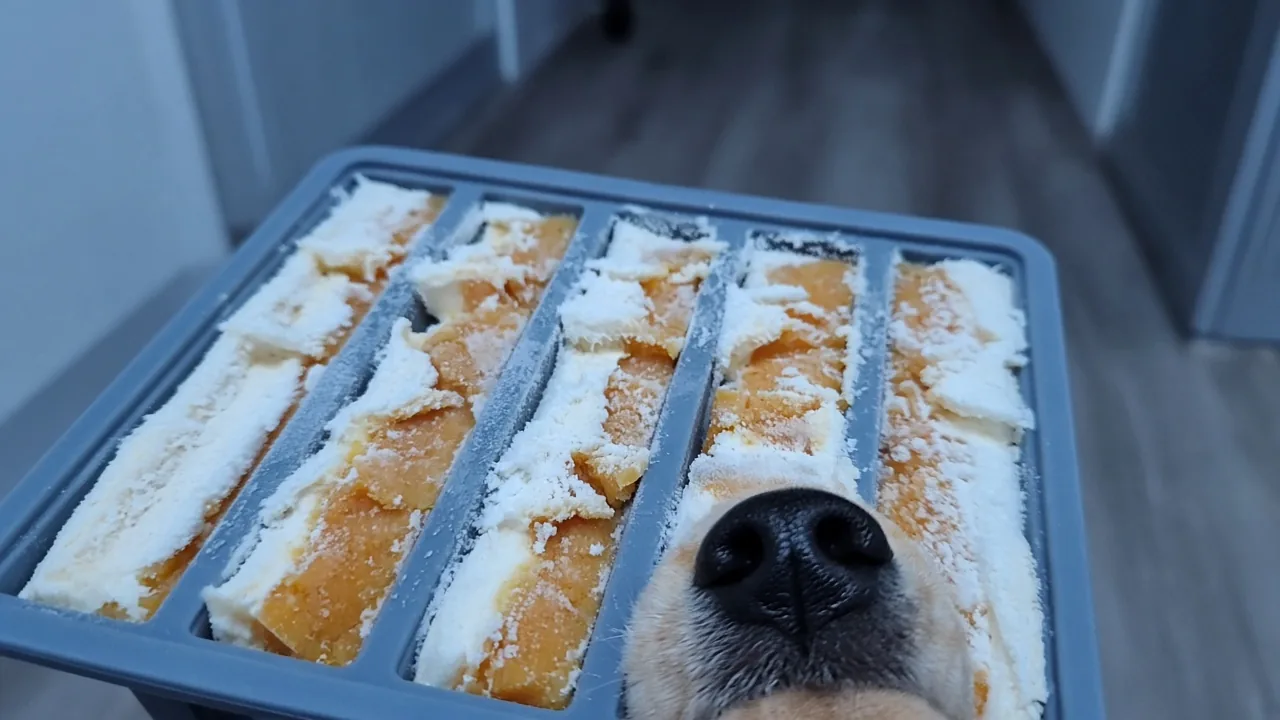
Freezing a finished lick mat for an hour or two extends licking time significantly, since frozen layers take longer to work through than soft ones. That said, freezing isn’t right for every dog. Dogs with sensitive teeth, older dogs, or dogs prone to stomach upset from cold food often do better with a fresh, unfrozen mat they can finish at a normal pace. A puppy who is still teething may also do better with a fresh mat, since very cold or very firm textures can be uncomfortable on sore gums.
How to Introduce a Dog to a Lick Mat for the First Time
Not every dog understands what to do with a lick mat on the first try, and some owners find their dog sniffs it, paws at it, and walks away. If that happens, the mat usually isn’t the problem — the introduction is.
- Start with a small amount of something your dog already loves, rather than a full three-layer build. A thin smear of plain yogurt or a little soft chicken is enough to get the idea across.
- Place the mat on the floor in a calm, low-traffic spot, away from other pets who might compete for it.
- Let your dog approach on their own terms instead of holding the mat up to their face, since some dogs find that pressuring.
- Once your dog licks on their own a few times, you can build up to a fuller layered recipe over the next several sessions.
Dogs who are used to eating from a bowl and have never had to work for food sometimes need a few short sessions before the behavior clicks. This is normal, and it’s not a sign your dog dislikes the mat itself.
No-Mat Licking Toy Alternatives Using Items You Already Own
If you don’t have a lick mat yet, the same layering idea works inside a hollow rubber toy, a lick ball, or a chew holder designed to grip softer fillings. Pack frozen yogurt or soft mashed fruit into a hollow toy the same way you’d layer a mat, and you get a similar calming effect without buying anything new. A lick ball filled with frozen yogurt gives a rounder, slower-release version of the same idea, while a toy that holds something soft and fruity, like ripe kiwi, works well for a dog whose stomach doesn’t handle ice well.
These substitutions matter most if your dog chews rather than licks. A flat mat left unattended can tempt a determined chewer to gnaw at the silicone edges, so a hollow toy built to be mouthed and chewed is often the safer pick for that type of dog.
Make Your Own No-Cook Meat Paste for Longer Licking Sessions
For sessions that need to last through a longer errand or a full workday departure, a homemade meat paste tends to outperform a simple frozen filling. Blend cooked meat, like plain chicken or beef, with a small amount of cooked rice until the mixture turns sticky rather than crumbly. Press the paste firmly into a lick mat’s ridges or into a treat-dispensing toy before serving.
Packing the paste tightly matters more than freezing it. A dense, sticky meat paste can actually take a dog longer to work through than a frozen filling, since the stickiness itself slows down each lick, while a frozen chunk can sometimes pop loose and get finished faster than expected. For an even denser option before you leave the house, a firm meat log or sausage (without excess sauce or liquid) pressed into a treat-dispensing toy creates a similarly long-lasting challenge, though it takes more effort to extract and isn’t the right choice for a dog who gives up easily on hard puzzles.
How to Choose the Right Lick Mat Recipe for Your Dog’s Size, Age, and Chew Style
Portion size matters as much as flavor. A lick mat recipe built for a large-breed dog can easily overfeed a small-breed dog if you use the same amount of meat, yogurt, and filler.
| Dog Size | Suggested Portion | Layer Thickness | Best Approach |
|---|---|---|---|
| Small-breed dog | 2–4 tablespoons total | Thin layers | Light smears, short sessions |
| Medium dog | 1/4–1/3 cup total | Moderate layers | Standard three-layer build |
| Large-breed dog | 1/3–1/2 cup total | Thicker layers | Can include a full meal portion |
Age changes the picture too. A puppy going through teething can find the suction and texture of a lick mat soothing on sore gums, but frozen layers may be too firm for that stage, so a fresh, soft mat is usually the better choice. A senior dog with reduced mobility can struggle to hold a mat in place while licking, so a mat with strong suction cups on a stable surface, or one placed flat on a non-slip mat, works better than a lightweight version that slides around.
Energy level and chew style matter as much as size or age. A high-energy dog who finishes a lick mat in under a minute may need a frozen version or a tougher hollow toy instead, since licking alone won’t occupy them for long. A dog who licks slowly and methodically can usually work through a fresh, unfrozen mat without losing interest partway through. For households dealing with stretches of hot weather where long outdoor exercise isn’t realistic, a frozen lick mat session can fill part of that gap on particularly warm evenings, since it still engages a dog mentally even though it isn’t a substitute for regular physical exercise over time.
Lick Mats vs. Commercial Chew Toys: When Each Makes Sense
A DIY lick mat is built for calm, low-cost engagement, not for standing up to aggressive chewing. If your dog treats every toy as something to destroy rather than lick, a flexible silicone mat won’t survive long, and commercial chew toys built from solid rubber or reinforced fabric are the better match for that chewing style.
| Feature | DIY Lick Mat | Commercial Chew Toy |
|---|---|---|
| Cost | Low | Moderate to high |
| Best for | Calming, slow feeding | Aggressive chewers |
| Durability | Low to moderate | Moderate to high, varies by material |
| Cleaning | Easy, dishwasher-safe mats available | Varies by material |
| Typical material | Food-grade silicone | Solid rubber, reinforced fabric |
Many households end up using both. A lick mat handles calm, low-stakes moments like nail trims or a slow breakfast, while a durable chew toy made from solid rubber or fabric with reinforced stitching handles the hours when your dog wants to work their jaw rather than their tongue. If your dog chews through plush toys quickly, a toy built with reinforced fabric and double-stitched seams will likely outlast a standard plush toy, though no toy marketed as tough should be left with an unsupervised, determined chewer for hours at a time.
Thinking about which category your dog falls into mostly comes down to watching what they actually do once food is involved. A dog who licks a bowl clean after every meal and lingers over empty food containers is a strong candidate for lick mats as a regular enrichment tool. A dog who chews through the edge of a plastic food container within a minute needs a sturdier option built for bite pressure, not suction and texture.
Are Lick Mats Safe for Dogs? What to Check Before Each Use
Lick mats are generally low-risk, but a few checks before each use matter. If your mat has suction cups on the back, press it firmly onto a smooth, clean surface and tug gently to confirm it holds before your dog starts licking with force. A mat that pops loose mid-session can startle a dog or end up flipped upside down on the floor.
Check the mat material itself for cracks, tears, or chunks missing from the ridges, since damaged silicone can shed small pieces that a dog might swallow. If you freeze fillings, avoid freezing one large solid chunk that could break off and become a choking risk; thinner, spread-out layers freeze into a texture a dog can lick away gradually rather than bite off in one piece.
It’s also worth thinking about what’s underneath or around the mat. A mat stuck to a tub wall should be checked for a secure hold before a bath, and a mat placed on the floor should be in a spot where your dog won’t be tempted to drag it onto a rug or into a crate where you can’t watch what happens to it.
Signs it’s time to replace a mat include:
- Visible cracks or tears in the silicone
- Suction cups that no longer hold on smooth surfaces
- Ridges worn smooth enough that food slides off too easily
- Any part of the mat your dog has managed to bite through
Always supervise a dog with a new lick mat for the first several sessions, the same way you would with any new toy, until you know how they interact with it.
How to Clean a DIY Lick Mat and Keep It Food-Safe
Rinse the mat under warm water immediately after each use, before any food residue has a chance to dry into the ridges. A soft brush or old toothbrush works well for reaching into the grooves where a sponge can’t quite get.
Many silicone lick mats are dishwasher-safe, which simplifies the process if you use one daily. If you hand wash instead, use a mild dish soap and make sure no residue is left behind, since dairy and meat particles trapped in silicone ridges can attract bacteria if the mat sits unwashed for more than a few hours, especially in warm weather. A mat that develops a persistent odor even after washing, or one whose ridges have become sticky no matter how thoroughly you clean it, is usually a sign the silicone has started to degrade and should be replaced rather than scrubbed harder.
Using Lick Mats to Calm an Anxious or Overexcited Dog
A lick mat’s usefulness goes beyond mealtime. One practical trick involves a mat with suction cups stuck directly onto a bathroom wall or tub surface at a height your dog can reach while standing. Smearing plain yogurt or pumpkin puree across it before a bath or nail trim gives your dog something constructive to focus on instead of fixating on what’s happening to their paws.
This approach redirects attention without relying on any punishment-based correction, which makes it a gentler option for dogs who already associate grooming tools with stress. The same idea works for other short, stressful moments, like a quick vet visit at home for ear cleaning, where a few minutes of focused licking can lower a dog’s overall tension.
For dogs who struggle with separation anxiety or persistent licking as a stress behavior outside of these controlled moments, a lick mat is a helpful tool but not a full solution. If your dog shows signs of anxiety well beyond mealtime, like pacing, excessive drooling, or destructive behavior when left alone, it’s worth talking to your veterinarian or a certified trainer about a broader plan.
Common Questions About DIY Lick Mats for Dogs
How long should I freeze a lick mat?
An hour or two in the freezer is usually enough to firm up the layers without turning the whole mat into a solid block that’s hard to lick through. Thinner layers freeze faster and give a more gradual release than one thick layer.
How long should a lick mat session last?
This varies by dog and recipe, but a well-built layered mat can keep most dogs occupied anywhere from 10 to 20 minutes. A frozen version generally lasts longer than a fresh one.
Do lick mats work for dogs who don’t play with toys yet?
Often, yes. Licking is a more instinctive behavior than structured play, so dogs who show no interest in balls or tug toys will frequently still engage with a lick mat smeared with something they find appealing. Starting with a strong-smelling, familiar favorite as the base layer tends to work better than starting with yogurt or fruit alone, and a slow, low-pressure introduction usually works better than expecting a dog to figure it out right away.
Can I use a lick mat every day?
Many dogs do fine with daily use, as long as the portion fits within their regular diet rather than being added on top of it. If you’re using a layered mat as a meal replacement rather than a snack, adjust the rest of your dog’s daily food accordingly so the extra calories don’t add up over time.
Is it normal for my dog to ignore the mat at first?
Yes. Some dogs take a session or two to understand that the mat holds food worth working for, especially if they’ve never had to lick or dig for a meal before. Patience during the first few tries matters more than the recipe itself.
Watch whether your dog licks, chews, or shreds first, pick a recipe or toy that matches that habit, and check mats and toys regularly for wear before reaching for them again. If chewing turns out to be the bigger habit, it’s worth reading up on how to pick and inspect durable chew toys separately, since the safety checks for that category look a little different.
This article is for general information only and is not a substitute for advice from your veterinarian. Always supervise your pet with a new toy, and replace any toy that is damaged or small enough to swallow.

Contributor
admin
Continue reading
All stories
DOG TOYS · 11 October
DIY Dog Toys From Old T-Shirts: No-Sew Braided Build
DOG TOYS · 11 October
Raw Meaty Bones vs Recreational Bones for Dogs: What’s Safer
DOG TOYS · 11 October
Responses
Moderated discussion