CAT TOYS
Are DIY Cat Toys Safe From Choking Hazards? What to Check First
DIY cat toys are generally safe when you avoid loose string, glued-on decorations, and unsupervised play, but a few common materials carry real choking and injury risks worth checking first.
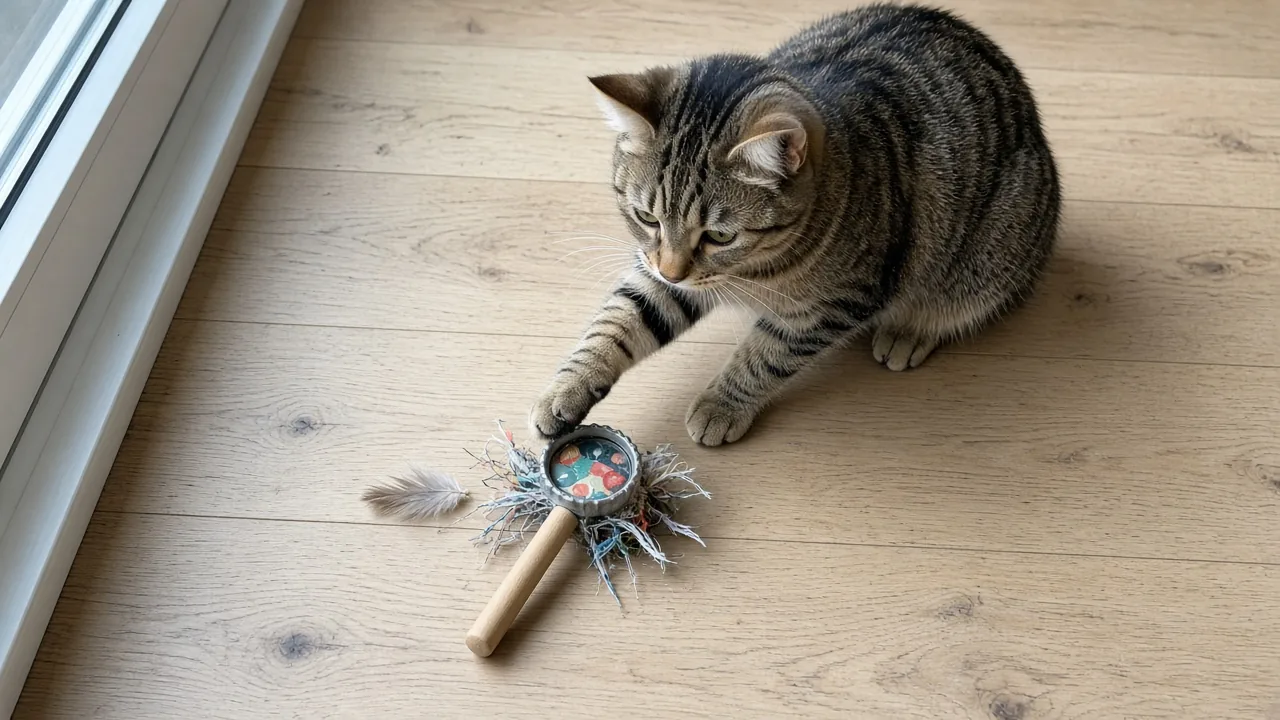
Picture a feather wand you glued together last night, now in shreds on the living room floor with a stray feather missing. Are DIY cat toys safe from choking hazards in situations like this? Mostly yes, as long as you pick sturdy materials, skip glued-on decorations, and stay in the room while your cat tests out anything new.
Are DIY cat toys safe from choking hazards, or are some materials too risky?
Homemade cat toys are not inherently more dangerous than store-bought ones. The risk comes from specific design choices: small parts that can detach, string that frays into loose threads, and glue joints that give out after a few rounds of batting and biting.
A well-built cardboard mouse or a simple rattle made from bottle caps and rice holds up fine with normal supervision. A feather wand held together with a thin bead of hot glue is a different story, because the glue is often the weakest point in the whole toy. The real question isn’t whether to make toys yourself, it’s whether each material and joint can survive your cat’s actual play style.
Which homemade cat toy materials carry the highest injury risk?
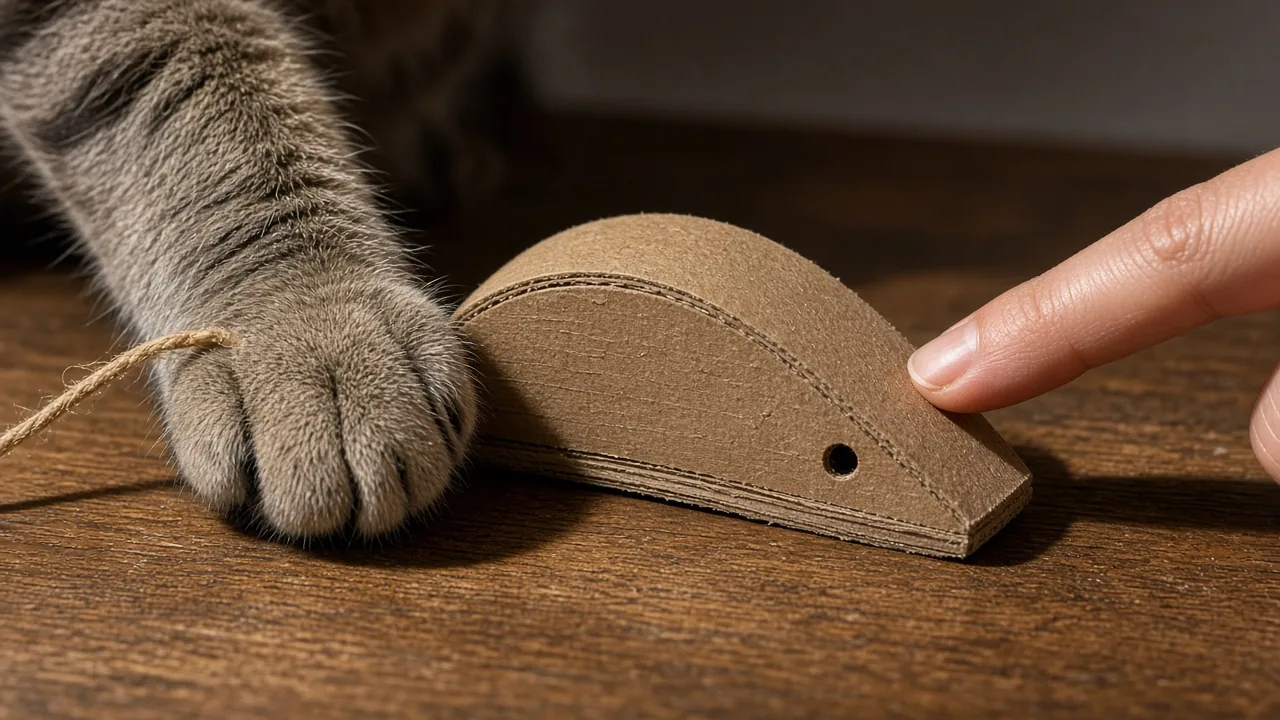
Four materials show up again and again in safety complaints about homemade cat toys: feathers, yarn or loose string, small glued-on decorations, and anything held together with hot glue alone. Wood, cardboard, and sisal rope tend to be safer starting points, since they don’t shed small pieces as easily and they’re harder for a cat to swallow in one bite.
| Material | Choking/injury risk | Why | Safer when |
|---|---|---|---|
| Feathers (wand toys) | Medium-high | Can snap into sharp-edged fragments; glue bonds weaken with use | Played with under supervision, retired at first sign of wear |
| Yarn, string, thread | High | Linear material a cat can swallow; hard to pass through the digestive tract | Avoided loose, or used only in short, watched sessions |
| Glued-on plastic eyes or decorations | High | Small, round, easy to swallow whole; glue fails faster than stitching | Replaced with stitched or drawn-on features |
| Sisal rope | Low | Fibrous but not linear in the same way; usually too thick to swallow | Wrapped tightly and checked for loose strands |
| Cardboard | Low | Shreds into soft pieces rather than sharp ones | Edges trimmed smooth, inspected for sogginess |
| Wood (dowels, flower stand frames) | Low | Sturdy, doesn’t splinter easily if sanded | Checked for cracks or splitting over time |
Why feather wands need extra supervision
A common way to build a feather wand is to tie a length of stretchy string to a wooden dowel, then use hot glue at two points along the string to keep the feathers from sliding off. That construction method works, but the glue is doing a lot of the structural work, and hot glue isn’t especially durable once a cat starts gripping and pulling at it.
One cat owner who tested a homemade feather wand found that the feathers shed quickly and the whole assembly felt flimsy compared to a store-bought wand toy, which is why the toy needs to stay strictly a "bat at it while I hold it" toy rather than something left out for solo chewing. If a feather breaks off, the exposed quill can have a sharp edge, so don’t let your cat gnaw on broken feathers even if they seem harmless. The safest version of this toy is one you put away after each session rather than leaving in a toy basket.
Why yarn and string toys worry many cat owners
Yarn and thread fall into a category veterinarians often call linear foreign bodies. Because the material is long and thin, if a cat swallows even part of it, the string can get caught somewhere in the digestive tract while the rest keeps moving, which can cause serious internal damage.
This is why pom-poms, sock caterpillars stuffed with loose thread, and homemade yarn balls draw so much concern from cat owners, even when the toy itself looks cute and harmless. A sock toy filled with stuffing and catnip wrapped in paper is low-risk in terms of ingestion, but if a cat chews through the sock fabric or works loose threads free, you’re back to the same string hazard. Treat any yarn-based toy as something to watch closely, not something to toss in a basket and forget.
Why glued-on eyes and small parts are a choking concern
A cardboard mouse with stitched-on felt ears and a rolled-paper tail is a reasonably safe toy on its own. The trouble starts when you add small decorative parts, like plastic googly eyes, glued to the surface.
Glue bonds on a toy that gets batted, carried, and chewed will loosen over time, and a plastic eye is small enough and round enough to be swallowed whole. The safer move is to skip adding plastic parts altogether and use a marker to draw on eyes, or stitch small felt circles in place instead. If you already have toys with glued decorations, check them before every play session and pull off anything that wiggles, rather than waiting for it to fall off on its own.
How kitten teething and heavy chewers change the calculus
A kitten losing its baby teeth, usually somewhere around three to four months old, tends to chew more aggressively and more indiscriminately than an adult cat that mostly bats and carries toys around. That makes small glued parts and loose yarn riskier for a kitten than for a calm adult who rarely puts a toy in its mouth for long.
The same logic applies to any individual cat, kitten or adult, that shakes, rips, and really works a toy over rather than just pawing at it. A cat with that kind of play style can wear through stitching or a glue joint far faster than the "normal wear" timeline you’d expect from the material alone. It’s worth watching your own cat’s habits for a session or two before deciding how much supervision a given homemade toy actually needs, since one cat’s bite force and persistence often matter more than the toy’s construction on paper.
How to make DIY cat toys safer during play
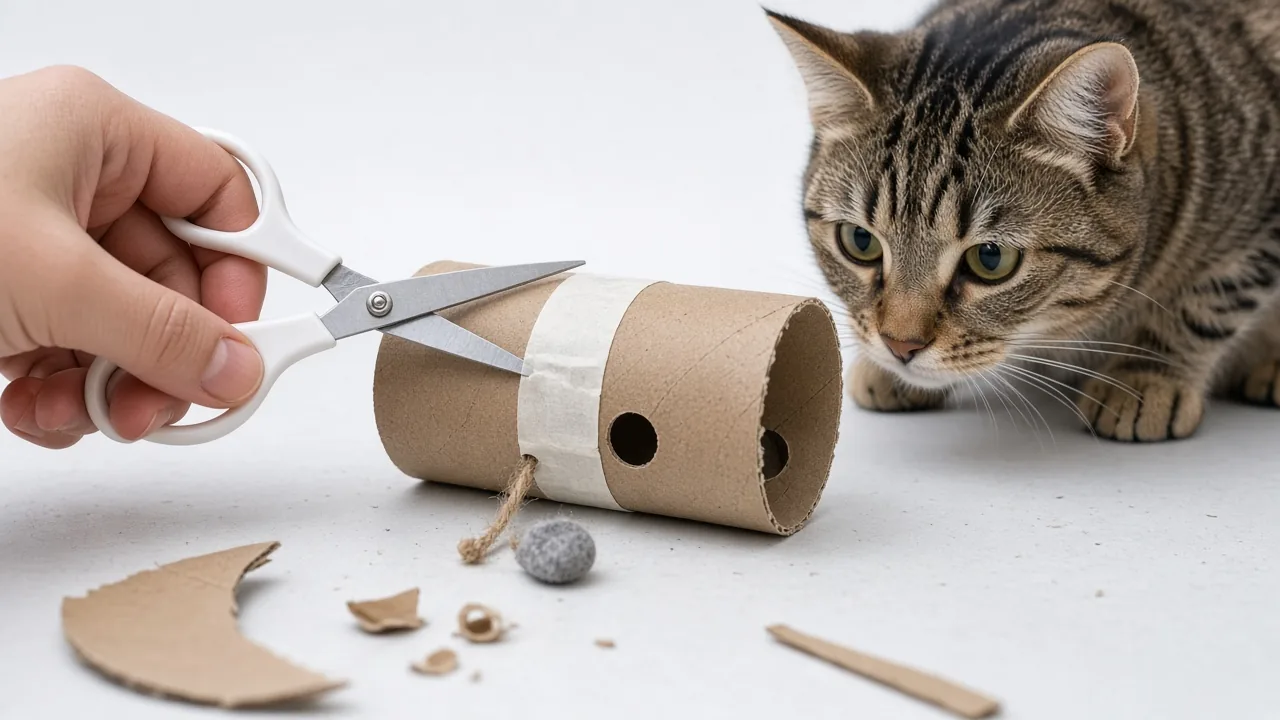
Most of the risk in homemade cat toys comes down to three fixable habits: rough edges, glued decorations, and leaving a new toy unsupervised too soon. Addressing these three things covers the majority of the injury and choking risk without requiring you to give up on homemade toys entirely.
A practical approach:
- Trim any cut edges, cardboard tubes, or fabric strips smooth before handing the toy over.
- Skip glued-on decorations in favor of stitched, tied, or drawn-on details.
- Stay in the room for the first several sessions with any new toy, especially anything with feathers, string, or small parts.
- Store finished toys somewhere your cat can’t access them unsupervised between play sessions, particularly feather wands.
- Replace, don’t repair, any toy where glue has already failed once.
How to safely build a feather wand or rattle toy
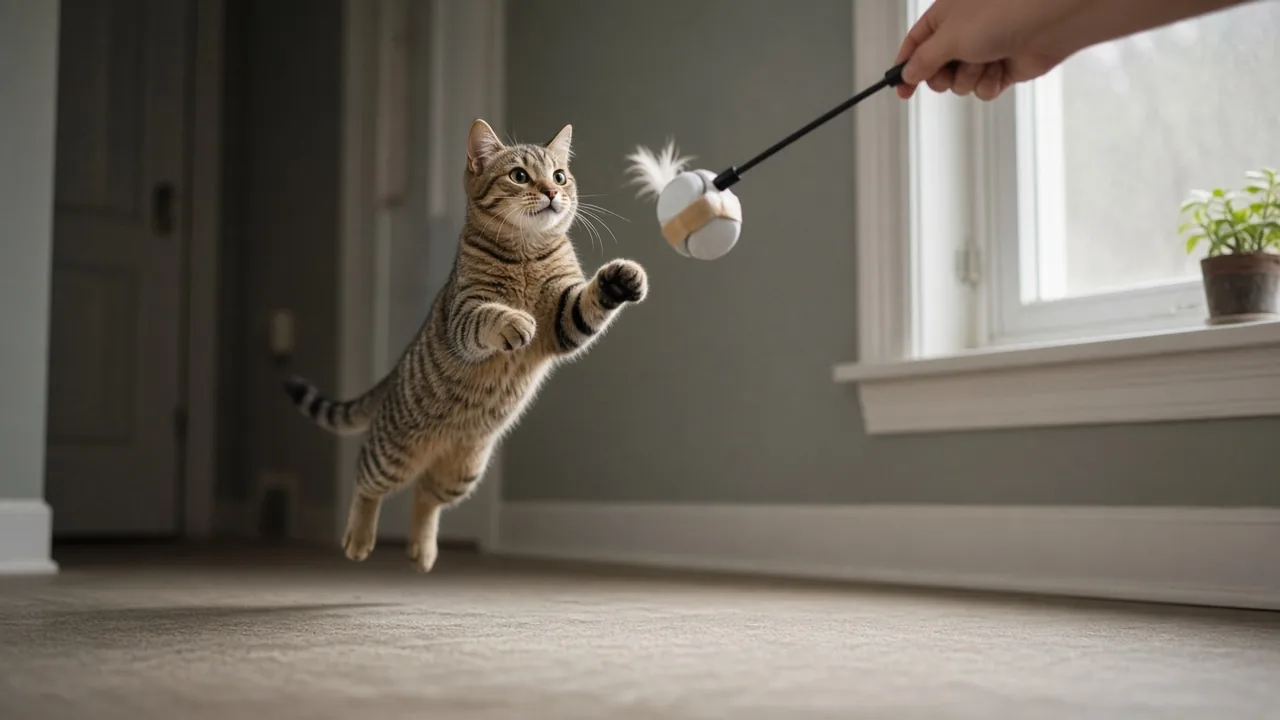
If you want a lower-risk alternative to a glued feather wand, a rattle toy is a good place to start. Take two bottle caps, fill one with a small amount of rice, press the other cap over it, and seal the edge with tape. That’s the entire build, and because there’s no glue joint under tension and no loose feathers, there’s very little that can come apart during play.
One cat owner who tried several homemade toys side by side found the bottle-cap rattle was the toy their cat responded to best, more than an elaborate feather wand or a stuffed sock toy. If you do want feathers in the mix, consider attaching them with stitching through fabric backing rather than relying on hot glue alone, and still supervise play closely. Peacock feathers cleaned with warm water and a little dish soap, then fully air-dried, have worked well for owners who want a wand toy with feather texture that holds up better than a quick glued version.
How to adjust a cardboard maze or puzzle toy for safety and difficulty
A foraging-style puzzle can be built by cutting toilet paper tubes in half lengthwise, gluing them vertically inside a shallow box, and hiding treats in the gaps. This design is low-risk because cardboard doesn’t splinter into sharp pieces, but a couple of adjustments make it work better.
Trim the cut edges of each tube so there’s no rough or jagged cardboard where your cat’s paw or nose makes contact. If your cat can smell the treats but can’t quite reach them, cut the tubes shorter rather than leaving the puzzle too difficult, since a cat that never succeeds tends to lose interest and walk away. Check the glue points on the inside of the box every few sessions, since repeated scratching and pawing can work tubes loose faster than you’d expect.
How often should you check and replace homemade cat toys?
Homemade toys generally wear out faster than store-bought ones, mainly because craft glue, tape, and basic stitching aren’t built to the same standard as manufactured toy joints. Get in the habit of a quick visual check before every play session rather than waiting for a toy to look obviously damaged.
Retire a DIY toy immediately if you notice:
- Fraying thread, yarn, or string that’s coming loose
- A glue joint that feels soft, sticky, or no longer holds firmly
- Missing or loose feathers, especially broken quills with exposed edges
- Cardboard that’s gone soft or soggy from drool or spilled water
- Any small part, like a bead or button, that has worked itself loose
If you’re making toys in batches, like several bottle-cap rattles or a few cardboard mice at once, it helps to date them lightly with a marker so you know roughly how long each one has been in rotation.
How to match a DIY toy to the way your cat actually plays
Cats work through a version of a hunting sequence when they play: stalk a target, break into a chase, pounce, and then shake or bite down as a stand-in for a kill. A homemade toy that only covers one of these stages, like a stationary rattle a cat can bat but never chase, may get abandoned after a few sessions even if it’s perfectly safe.
Feather wands cover the stalk-and-chase stages well, since you can drag them along the floor and lift them just out of reach, but that’s exactly why supervision matters. Letting a cat finally "catch" and shake the toy at the end of a session is normal play, not a sign the toy has failed, as long as you remove anything that comes loose, feather fragments, frayed string, loosened glue beads, before the next round.
Indoor cats with limited outlets for this instinct often do better with two or three short play sessions a day rather than one long one, and rotating two or three safe toys in and out of a basket tends to hold their interest longer than leaving everything out all the time.
Are budget scratcher and climber builds safe alternatives to store-bought ones?
Beyond toys, some cat owners extend the same do-it-yourself thinking to bigger items like scratchers and climbing furniture. These builds can work, but they come with their own trade-offs around stability and durability that are worth knowing before you commit an afternoon to building one.
What owners say about sisal-wrapped scratchers and furniture-leg builds
Wrapping sisal rope tightly around a table leg, sofa leg, or a simple wooden board is one of the cheaper ways to add scratching surfaces around your home, since sisal rope is inexpensive relative to a full-size commercial scratcher. The main catch is patience: a cat used to an existing scratcher may ignore the new wrapped leg for a while before trying it out.
If you go this route, make sure the rope is wound tightly enough that your cat can’t catch a claw between loose coils, and check periodically for strands that have come loose at the ends. This works best as a supplement next to an existing scratcher rather than a sole replacement, especially while your cat is still getting used to it.
What to know before trying a flower-stand cat tree or DIY climbing frame
A tiered flower stand, tied together with rope to create multiple platforms, can approximate the shape of a cat tree at a fraction of the cost. The trade-off is stability. A flower stand isn’t engineered to carry a jumping, climbing cat the way a purpose-built cat tree is, so it often needs extra anchoring to a wall or heavy base to keep it from tipping.
If you try this, test the structure’s wobble with your own hands before letting your cat near it, and reinforce any joint that shifts under light pressure. For a kitten or a lightweight adult cat this may hold up fine; for a larger or more active cat, the stability gap compared with a commercial cat tree is worth taking seriously.
Do cheap household swaps actually save money on cat toys and gear
Some no-cost swaps genuinely work well. A cardboard box with holes cut around the sides and a ping-pong ball dropped inside can keep a cat entertained on its own for a good chunk of an afternoon, and a plain paper bag with the handles removed (so a cat can’t get its head caught) costs nothing at all.
Other swaps are less clear-cut. Repurposing a storage bin as a litter box, for example, doesn’t always beat the price of a basic commercial litter box, and the fit and cleaning convenience can be worse. The pattern that holds up across these comparisons: swaps that reuse something you already own tend to be a clear win, while swaps that still require buying new materials are worth comparing against the cost of a simple store-bought option before you assume you’re saving money.
Frequently asked questions about DIY cat toy safety
Is using sodium thiosulfate to control litter box odor safe?
Sodium thiosulfate is sometimes suggested as a litter box odor fix, but it mainly neutralizes chlorine rather than ammonia, which is the compound actually responsible for most litter box odor. It can also release harmful gas if it comes into contact with acids or chlorine-based cleaning residue. Given the safety concerns and the fact that it doesn’t target the right odor source, it’s not a reliable or recommended fix. Regular litter changes and a well-ventilated litter area remain the more dependable approach.
Why does my cat ignore homemade toys and play with the box instead?
This happens often enough that it’s worth expecting rather than worrying about. Cats frequently show more interest in packaging, a plain paper bag, or even an ice cube than in a toy you spent time crafting. A stuffed sock toy with catnip tucked inside, for instance, can fall completely flat with one cat while a simple bottle-cap rattle becomes an instant favorite.
Judge a DIY toy by whether your specific cat engages with it, not by how polished or elaborate it looks. If a toy gets ignored after a couple of tries, it’s fine to set it aside and try a different shape, texture, or type of movement instead.
Pay attention to how your cat naturally plays, whether that’s stalking, chasing, pouncing, or carrying toys around, and build or choose toys that match that instinct. Check every homemade toy regularly for fraying thread, loose glue, or missing parts, and swap it out the moment something looks worn rather than waiting for a problem to show up during play.
This article is for general information only and is not a substitute for advice from your veterinarian. Always supervise your pet with a new toy, and replace any toy that is damaged or small enough to swallow.

Contributor
admin
Continue reading
All stories
CAT TOYS · 11 October
Why Is My Rolling Cat Toy Ball So Loud, and Can You Fix It?
CAT TOYS · 11 October
Are Expensive Cat Toys Worth It, or Will a Box Do Just Fine?
CAT TOYS · 11 October
Responses
Moderated discussion