SMALL PETS & BIRDS
Bottomless Hamster Hideouts: How to Clean a Hamster Hideout Without a Bottom
A daily lift-wipe-dry routine keeps a bottomless hamster hideout odor-free, and the right material and bedding choice make cleanup even easier.
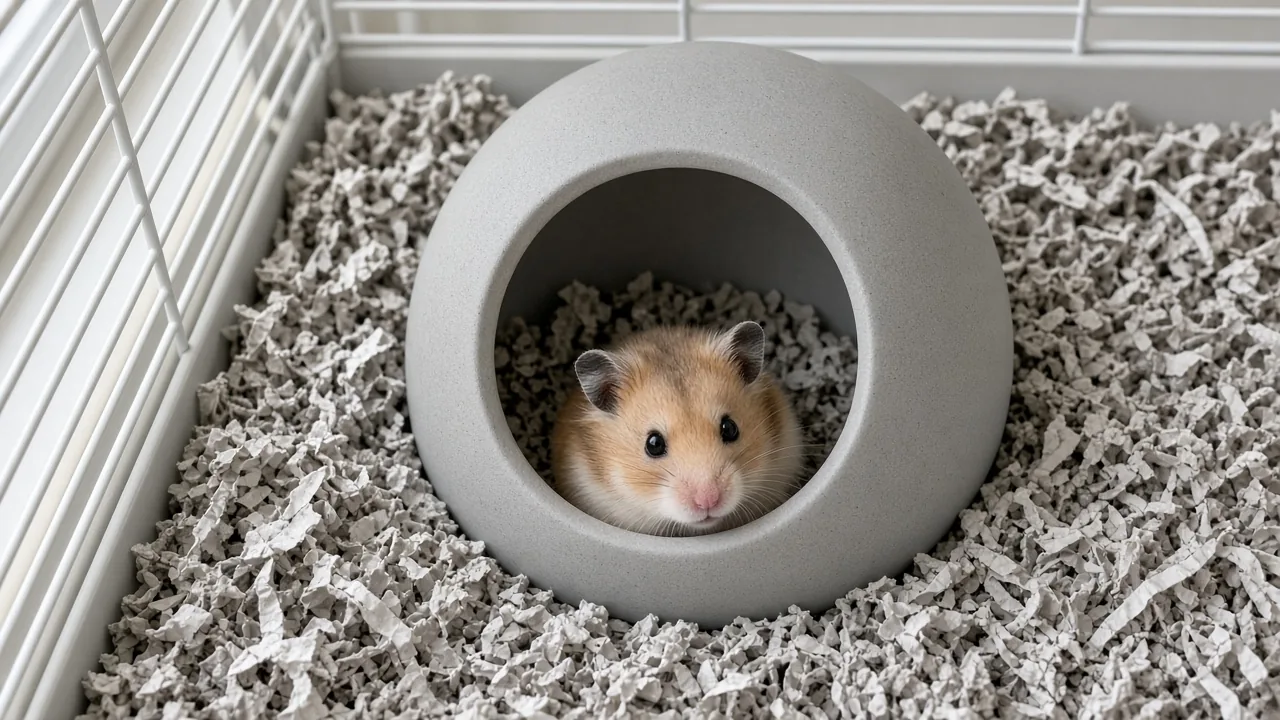
Picture lifting a ceramic dome off your hamster’s bedding and finding a damp, smelly mess where it burrowed and used the bathroom. Learning how to clean a hamster hideout without a bottom comes down to one habit: lift it daily, wipe the inside, and let it dry before setting it back in place. Ceramic, wood, and plastic bottomless hideouts each trap waste and odor differently, so the material you choose changes how often you’ll repeat that routine.
What Is a Bottomless Hamster Hideout, and Why Owners Choose One
A bottomless hideout is exactly what it sounds like: a dome, igloo, or house shape with no solid floor. You set it directly on top of the bedding, and the hamster digs its own floor underneath, shaping tunnels and a sleeping nook the way it would in the wild.
Owners like this design because it lets a hamster burrow naturally instead of sitting on a flat plastic base. A hamster that likes to dig can push bedding up around the hideout’s edges, creating a cozier, more enclosed space than a solid-bottom version offers.
The tradeoff shows up fast. Because the hideout has no floor to catch waste, anything the hamster drops inside sinks straight into the bedding below. That open design is convenient for digging but inconvenient for cleanup, which is the core complaint you’ll see from owners who’ve lived with one for a while.
Ceramic vs. Wood vs. Plastic Bottomless Hideouts: A Comparison
The three common materials behave differently once a hamster starts using the hideout as a toilet corner, a food stash, or a nap spot. None of them is maintenance-free, but each asks for a different kind of attention.
| Material | Odor Resistance | Chew Resistance | How to Clean | Best For |
|---|---|---|---|---|
| Ceramic | Doesn’t absorb liquid, but waste and bedding can pack into tight corners | High — hamsters generally can’t chew through it | Lift out, scrub with warm water and a stiff brush, dry fully before placing bedding back inside | Owners who want a hideout that keeps its painted finish and shape for a long stretch |
| Wood | Absorbs odor and moisture quickly | Moderate — many hamsters gnaw at the edges over time | Wipe the outside, let it air out between uses, replace once the smell doesn’t lift | New arrivals still settling their scent into a cage, hamsters that enjoy gnawing |
| Plastic | Doesn’t soak in odor, but residue can cling to smooth walls | Low — prone to chew marks, cracks, and sharp edges once damaged | Rinse with warm water, wipe dry, check for cracked edges before reuse | Budget setups and owners who want something light to lift daily |
A ceramic hideout from a kitchen-themed line can double as a food warmer in cold months and still look close to new after a year of regular use, which is why many owners stick with ceramic despite the weight. Wood suits a hamster that just moved in, since the material settles the new animal’s scent into the cage faster than ceramic or plastic does. Plastic is the easiest to lift and rinse, but it’s also the material most likely to end up with chew marks that need checking.
Which Material Is Easiest to Clean Without a Bottom?
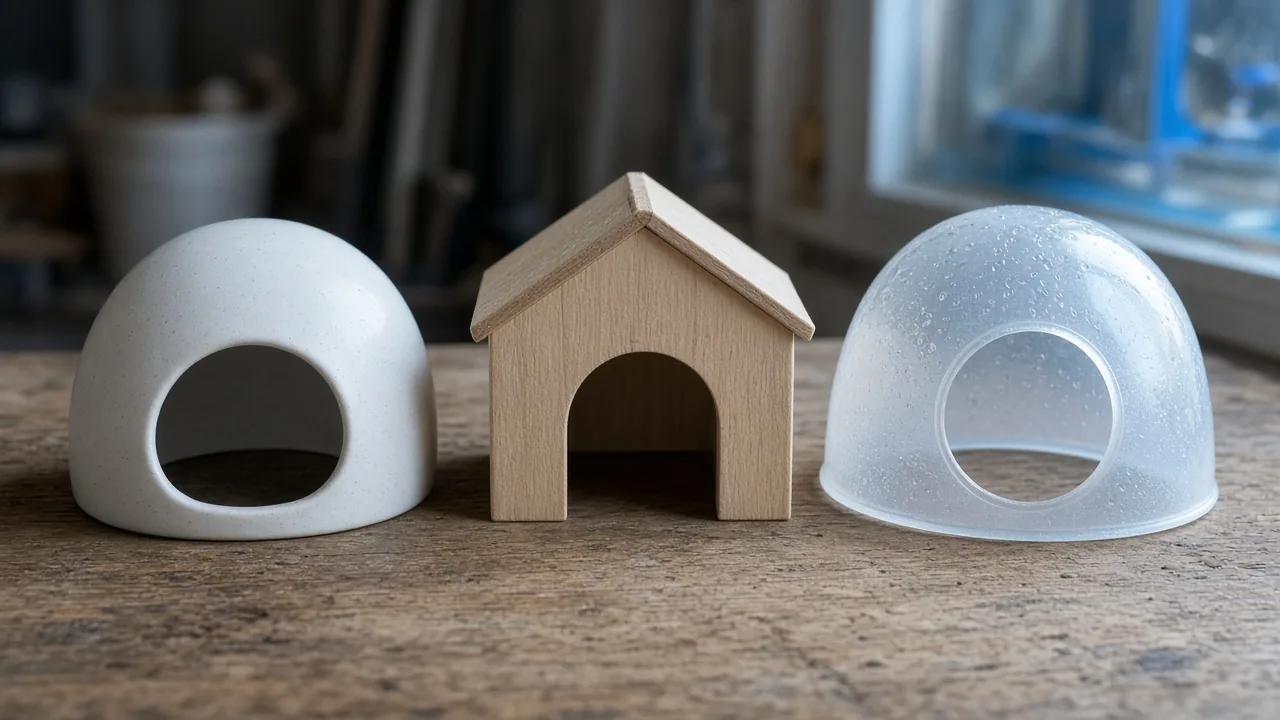
Ceramic wins on durability and look, but it’s not automatically the easiest to clean. One owner described washing a bottomless ceramic ice-cream-shaped hideout as "extremely hard to wash" once the hamster started treating it as a bathroom corner — the glaze keeps liquid from soaking in, but the curved interior and tight base make scrubbing out dried waste slow going.
Wood tends to need less scrubbing because you’re not trying to wash out set-in residue; instead, you air it out and eventually retire it once the smell settles in permanently. Plastic sits in the middle: quick to rinse, but any crack or rough chew mark becomes a spot where waste and moisture can hide.
If daily lifting and wiping sounds like more upkeep than you want, that’s useful information before you buy. A hamster that reliably uses one corner as a bathroom makes any bottomless hideout easier to manage, since you can predict where to focus your attention.
How to Choose a Bottomless Hideout for Your Hamster’s Habits and Cage
Start with your hamster’s size and the hideout’s interior space. A hideout that’s too small cramps a full-grown Syrian hamster, while one that’s too roomy for a dwarf hamster may not feel enclosed enough to encourage denning behavior.
Check the opening next. Some ceramic kitchen-style hideouts have a wide interior but a narrow opening, which looks appealing on the shelf but makes it hard to lift bedding, waste, or an ice pack in and out. A tight-neck design can turn a quick wipe-down into an awkward reach-in with a cloth or brush.
Match the hideout to your cage’s floor height too. A taller cage base gives you more room to build up bedding around a bottomless hideout, which supports burrowing. A shallower cage floor limits how much your hamster can dig before hitting the cage bottom, which may make a bottomless design less useful for that particular setup.
Keep these points in mind when comparing options:
- Interior space: Should let the hamster turn around and stretch out, not just squeeze in
- Opening size: Wide enough for your hand or a small brush to reach every corner
- Cage floor depth: Taller bases support deeper burrowing under the hideout
- Weight: Ceramic is heavier and more stable but harder to lift daily; plastic is lighter but less sturdy
- Chew resistance: Matters more if your hamster is a persistent gnawer
How to Clean a Hamster Hideout Without a Bottom (Step-by-Step)
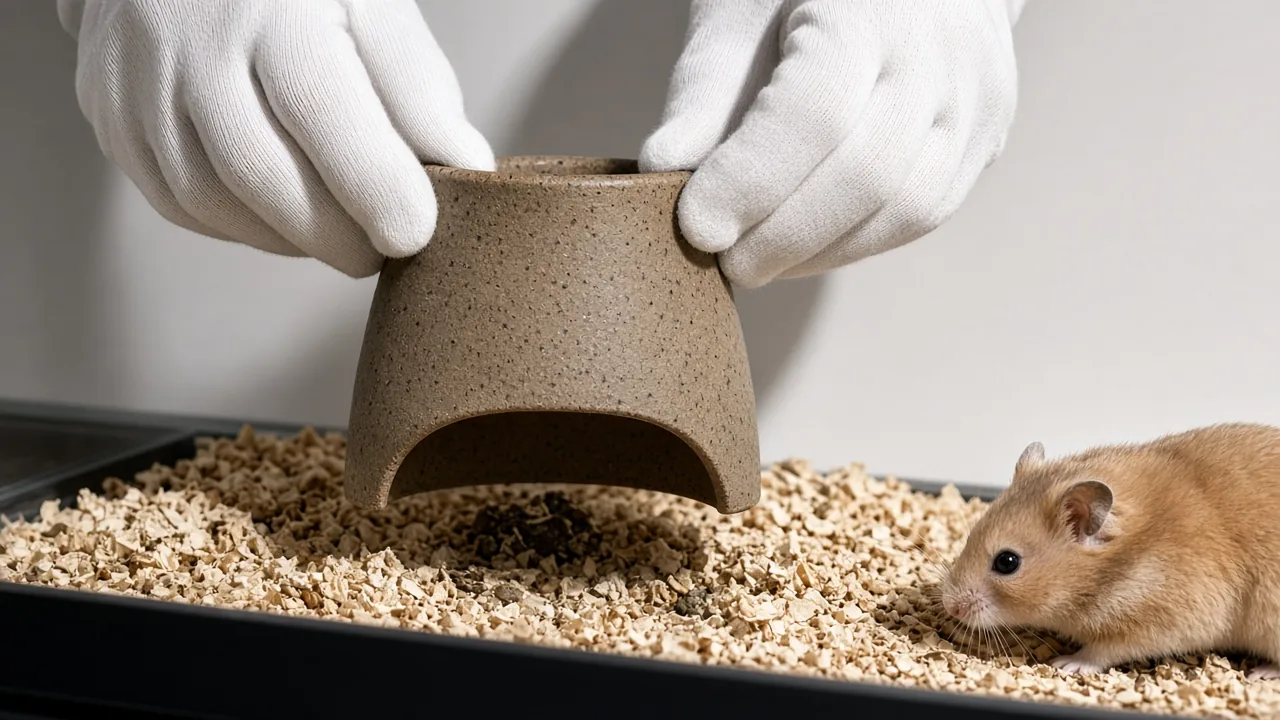
A simple, repeatable routine keeps odor from building up without constantly tearing apart the burrow your hamster worked to shape. Aim for a light daily check and a deeper clean on a set schedule rather than waiting until the smell is obvious.
- Lift the hideout straight up so you don’t drag bedding or waste along the sides.
- Check the exposed spot underneath for damp bedding, droppings, or stashed food.
- Scoop out soiled bedding with a small scoop, leaving dry bedding in place when possible.
- Wipe the inside walls of the hideout with a damp cloth, or scrub with warm water if waste has dried on.
- Let the hideout air-dry completely before setting it back down, since trapped moisture is what causes lingering odor in ceramic and wood.
- Refill with fresh bedding underneath before replacing the hideout, so your hamster has a clean surface to burrow into again.
Do steps 1 through 3 daily if your hamster tends to use one spot inside the hideout as a bathroom. Save the full wipe-down in steps 4 through 6 for once or twice a week, or sooner if you notice odor between cleanings. Washing a wood hideout too often can slow down the scent-settling process for a hamster that’s still new to the cage, so give that material a lighter touch than ceramic or plastic.
Reducing Odor Between Cleanings
Pairing a bottomless hideout with the right bedding setup cuts down how often waste actually touches the hideout in the first place. The goal is to give your hamster a clearly preferred bathroom spot elsewhere in the cage.
A separate corner toilet, placed away from the hideout, gives your hamster an alternative to using its sleeping space as a bathroom. Many hamsters pick up this habit on their own once a dedicated spot is available and kept clean.
Layering absorbent bedding under and around the hideout also helps. A base layer of compressed paper pellets absorbs moisture quickly, while a top layer of fluffy paper bedding or thin paper cotton gives your hamster soft material to burrow through. Avoid using walnut sand or buckwheat sand as a full bedding layer — both work better as a thin top layer or in a separate play area, since they don’t absorb waste the way paper bedding does.
Does Bedding Choice Affect Hideout Odor?
Yes, and the toilet design matters as much as the bedding itself. A round-bottomed toilet with a covered top and sheltered sides is harder for a hamster to knock over than an open dish, and it tends to actually get used instead of ignored.
For litter inside that toilet, mineral sand is the cheaper option and absorbs odor well for the price. Tapioca sand costs more but doesn’t stick to the bottom of the toilet or your hamster’s feet the way mineral sand sometimes does. Either option, used consistently in a dedicated toilet corner, reduces how often you’ll find waste inside the hideout itself.
Timothy hay tucked near — but not inside — the hideout adds a mild, pleasant scent that can mask minor odors between cleanings. A small handful goes a long way, since the scent stays noticeable for several days.
Safety Checks Before and After Cleaning
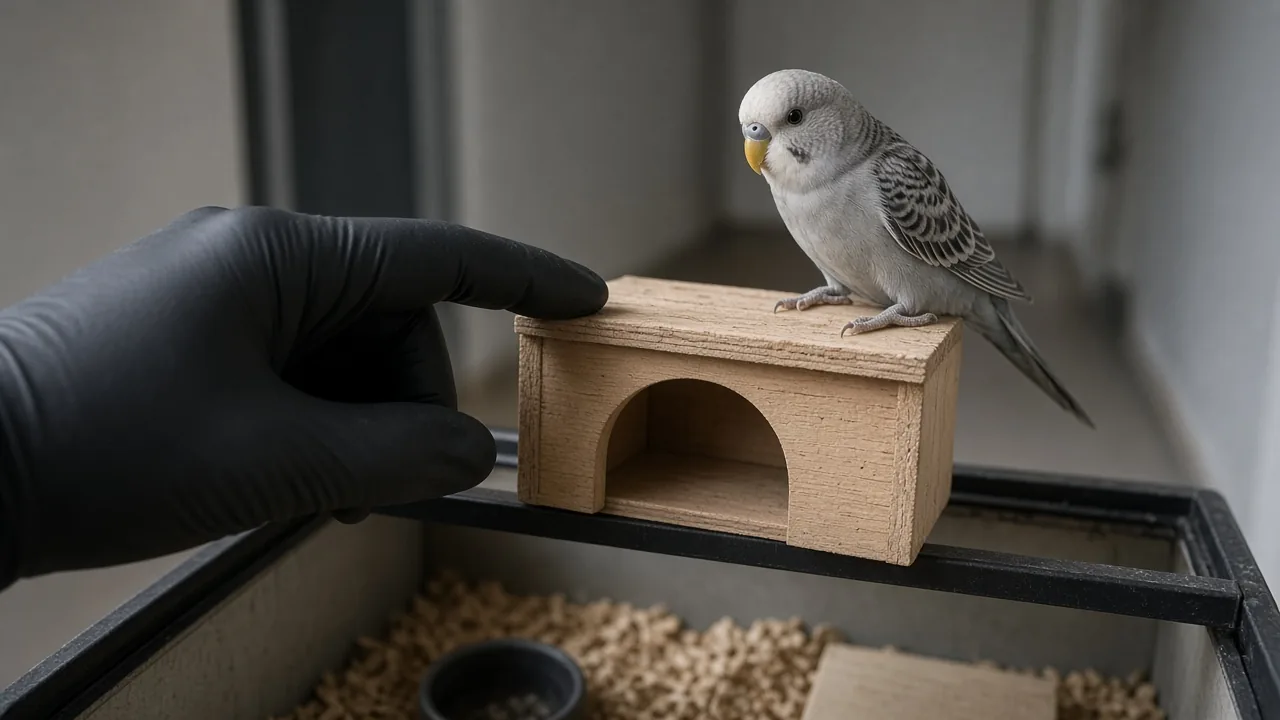
Every time you lift a bottomless hideout for cleaning, take a few seconds to inspect it before setting it back down. Damage that goes unnoticed can turn a cleaning routine into a safety problem.
Look for:
- Cracked or chipped ceramic edges, which can scrape a hamster’s feet or snag on fur
- Splintering wood, especially around entry holes where a hamster squeezes through repeatedly
- Loose or flaking paint, since a hamster that gnaws at a painted surface can swallow small flakes
- Sharp edges on plastic, which tend to appear after a crack or a chew mark widens over time
If you spot any of these, don’t place the hideout back in the cage until you’ve decided whether it’s still safe to use. A hairline crack in ceramic may seem minor, but moisture can work its way into it and make the crack worse with each wash.
When to Replace a Bottomless Hideout
Most bottomless hideouts have a long usable life, especially ceramic ones that can look close to new after a year of regular cleaning. Replacement becomes the better option once the hideout stops responding to normal cleaning.
Signs it’s time to retire a hideout:
- Odor that doesn’t lift even after a full scrub and complete drying
- Chipped or flaking paint that creates a swallowing risk
- A crack that traps moisture, since this tends to worsen with every wash cycle rather than improve
- Splintered wood around the entrance that could scrape or poke your hamster
If you’ve reached the point where you’re scrubbing the same hideout every day and still noticing a smell, that’s a sign the material has absorbed more waste than cleaning can remove — particularly common with wood after extended use. At that point, a fresh hideout is usually less work than continuing to fight the odor in the old one.
Who Should (and Shouldn’t) Choose a Bottomless Hideout
A bottomless hideout fits best with owners who enjoy watching their hamster dig, tunnel, and reshape its own space. If part of the appeal of having a hamster is seeing natural burrowing behavior, this design delivers that in a way a solid-bottom hideout can’t.
It also fits owners who don’t mind a short daily task. Lifting the hideout, checking underneath, and doing a quick wipe only takes a minute or two once it’s part of your routine, but it is a routine — not a one-time setup.
A bottomless hideout is a weaker fit if you want a low-maintenance cage setup, travel often, or have a hamster that consistently uses the hideout as a bathroom rather than just a sleeping spot. In those cases, a solid-bottom hideout that you can pull out, dump, and rinse in one motion will likely save you more time and frustration.
Budget-Friendly Alternatives to Store-Bought Hideouts
If you’d rather not spend on a ceramic or wood hideout right away, a few repurposed options give your hamster a similar bottomless burrowing experience. A dried gourd, hollowed out and sized to fit your hamster, offers an airy, roomy hideout at a low cost and lets air circulate better than some solid plastic domes.
Small animal enclosures sold for other pets, like compact crates meant for quail or similar birds, have also been repurposed by owners as low-cost hamster hideouts when the openings and interior space suit a hamster’s size. These alternatives still have no bottom, so the same daily lift-and-wipe routine applies — repurposing doesn’t reduce the cleaning you’ll need to do.
Before using any repurposed item, check it for rough edges, loose fibers, or small detachable pieces your hamster could chew off and swallow. A gourd or enclosure that wasn’t designed for hamsters needs the same safety check as a store-bought hideout, maybe more.
FAQ: Common Questions About Bottomless Hamster Hideouts
Are bottomless hideouts messier than solid-bottom ones?
They can be, mainly because waste goes straight into the bedding instead of staying contained in a removable tray. The mess isn’t necessarily worse overall, but it’s distributed differently, which is why the daily lift-and-check habit matters more with bottomless designs.
How do bottomless hideouts compare to split or magnetic hideouts?
Split, two-piece hideouts let you open the top for cleaning without lifting the whole structure, but doing so disturbs any burrow your hamster built underneath. Magnetic hideouts can be convenient to open, though the magnets on some models have been known to loosen or detach after extended use — a problem some owners run into while others report years of trouble-free use with the same style, suggesting manufacturing consistency varies more than the design itself.
What should I do if my hamster keeps soiling the same spot in its hideout?
Treat that as useful information rather than a problem to fix inside the hideout. Set up a dedicated toilet corner nearby with absorbent litter, and many hamsters will shift their bathroom habit away from the hideout once a clear alternative exists.
Does a bottomless hideout need to be cleaned even if it doesn’t smell yet?
Yes. Waste and moisture can sit under a hideout for a while before odor becomes noticeable, especially with ceramic, so a light daily check catches buildup before it turns into a bigger cleaning job.
Watch how your hamster actually uses its hideout — burrowing through it, hoarding food inside, or treating a corner like a bathroom — before you settle on a material, and give it a weekly once-over for cracks or lingering odor. The same habit of checking for wear and swapping out anything damaged applies to exercise wheels, toys, and other cage furnishings, so it’s worth folding into one regular routine rather than treating the hideout as a special case.
This article is for general information only and is not a substitute for advice from your veterinarian. Always supervise your pet with a new toy, and replace any toy that is damaged or small enough to swallow.

Contributor
admin
Continue reading
All stories
SMALL PETS & BIRDS · 10 October
How to Tame a New Hamster Without Getting Bitten: A Patient Guide
SMALL PETS & BIRDS · 10 October
How to Litter Train a Caged Rabbit: A Step-by-Step Method

SMALL PETS & BIRDS · 10 October
Responses
Moderated discussion